Product description
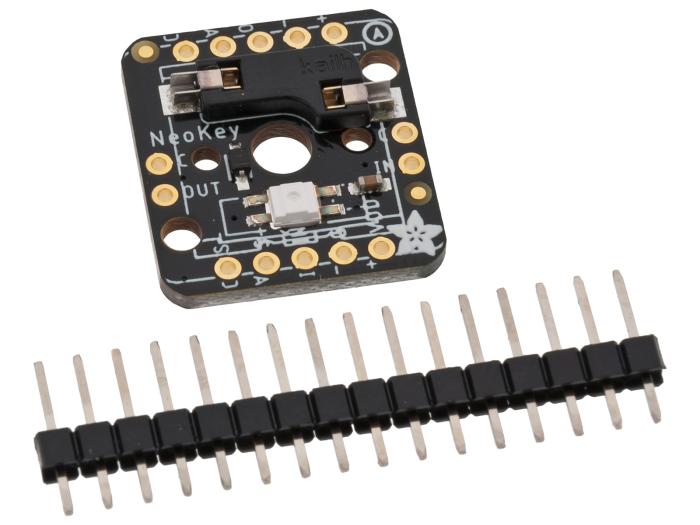
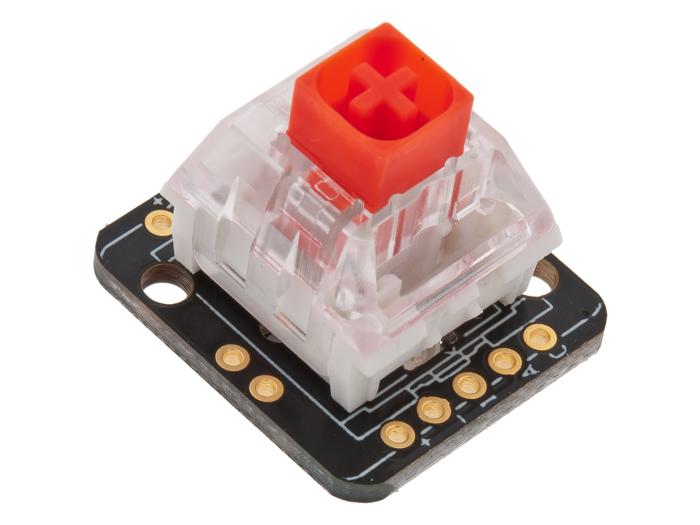
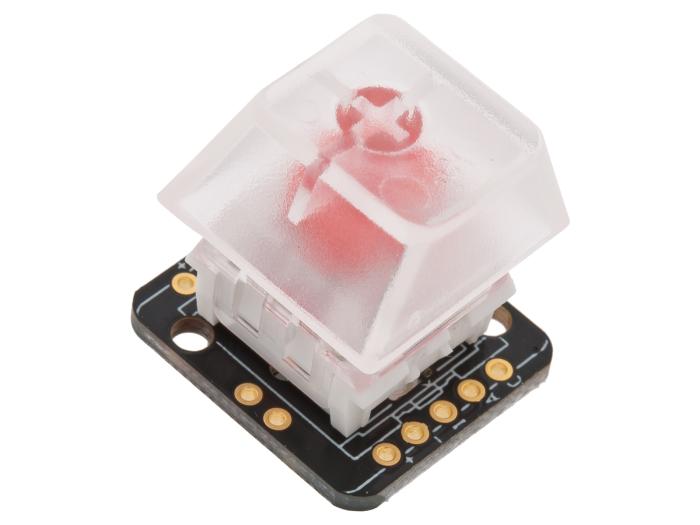
The only thing better than a nice mechanical key, is one that also can glow any color of the rainbow - and that's what the Adafruit NeoKey Breakout will let you do! This little 0.75" x 0.85" PCB can fit one Cherry MX or compatible switch and make it easy to use with a breadboard or perfboard.
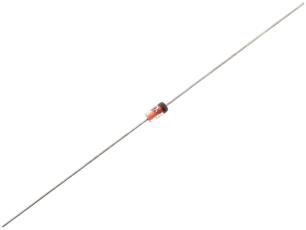
The breakout has a Kailh socket, which means you can plug in any MX-compatible switch instead of soldering it in. You may need a little glue to keep the switch in place: hot glue or a dot of epoxy worked fine for us. We also place a 1N4148 signal diode in series with the switch, so you can create key-grid matrices without worrying about ghosted keys.
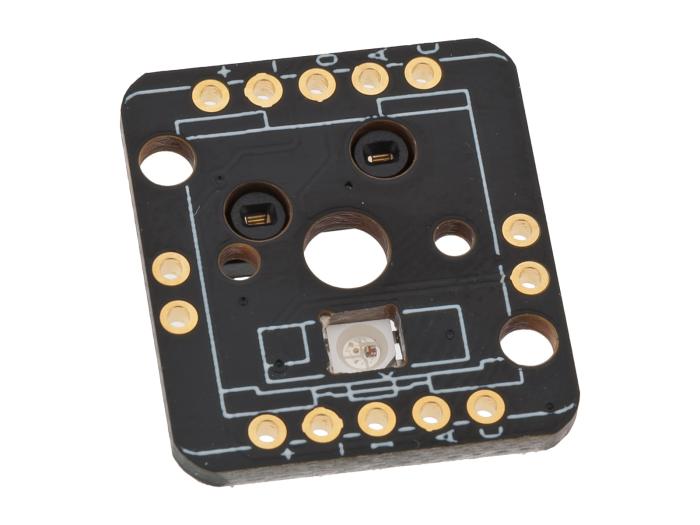
Each breakout also has a single reverse-mount NeoPixel pointing up through the spot where many switches would have an LED to shine though. The input and output of the pixel are broken out so you can 'chain' these board together and control them as one NeoPixel strand.
There's plenty of flexibility for any kind of use, each board has the following pin out:
VDD (+) The power pin for the NeoPixel, provide 3 to 5VDC
GND (-) The ground power pin for the NeoPixel, connect to ground
In (I) and Out (O) The input and output to/from the NeoPixel, for chaining
Switch Anode (A) - The 'positive' side of the switch+diode. If you're using the switch with a pull-up resistor, connect this pin to your microcontroller. If you're using a pull-down, connect this pin to your logic level power pin.
Switch Cathode (C) - The 'negative' side of the switch+diode. If you're using the switch with a pull-up resistor, connect this pin to ground. If you're using a pull-down, connect this pin to your microcontroller.
There's two rows of 5-pin contacts on a 0.1" grid on both sides. Solder in both sides for mechanical stability, the two sides share the same pins except for one side is NeoPixel in and the opposite side has the out pin. For side-by-side wiring, we also have the cathode pin broken out on the sides, and another set of NeoPixel In/Out pins.

